A quickstart guide for new AirCloud users. In AirCloud, you first create an Organization and Project, then start your AI workload using either Air API or Air Container.Documentation Index
Fetch the complete documentation index at: https://docs.aieev.com/llms.txt
Use this file to discover all available pages before exploring further.
Before you start
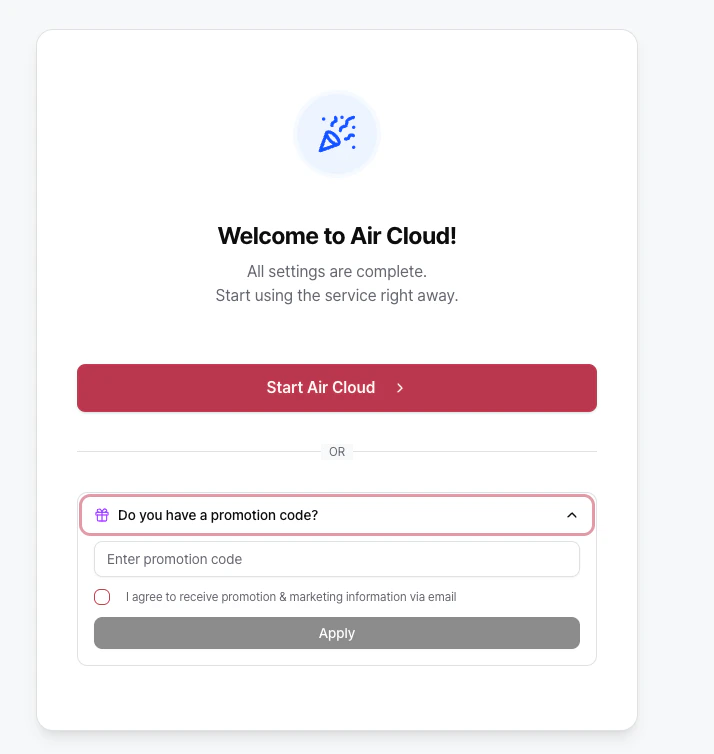
Before using AirCloud, complete sign-up and onboarding.1. Select Get Started and choose a service
On the AirCloud homepage, click Get Started. In the service selection step, you can choose either Run AI workloads or Provide resources.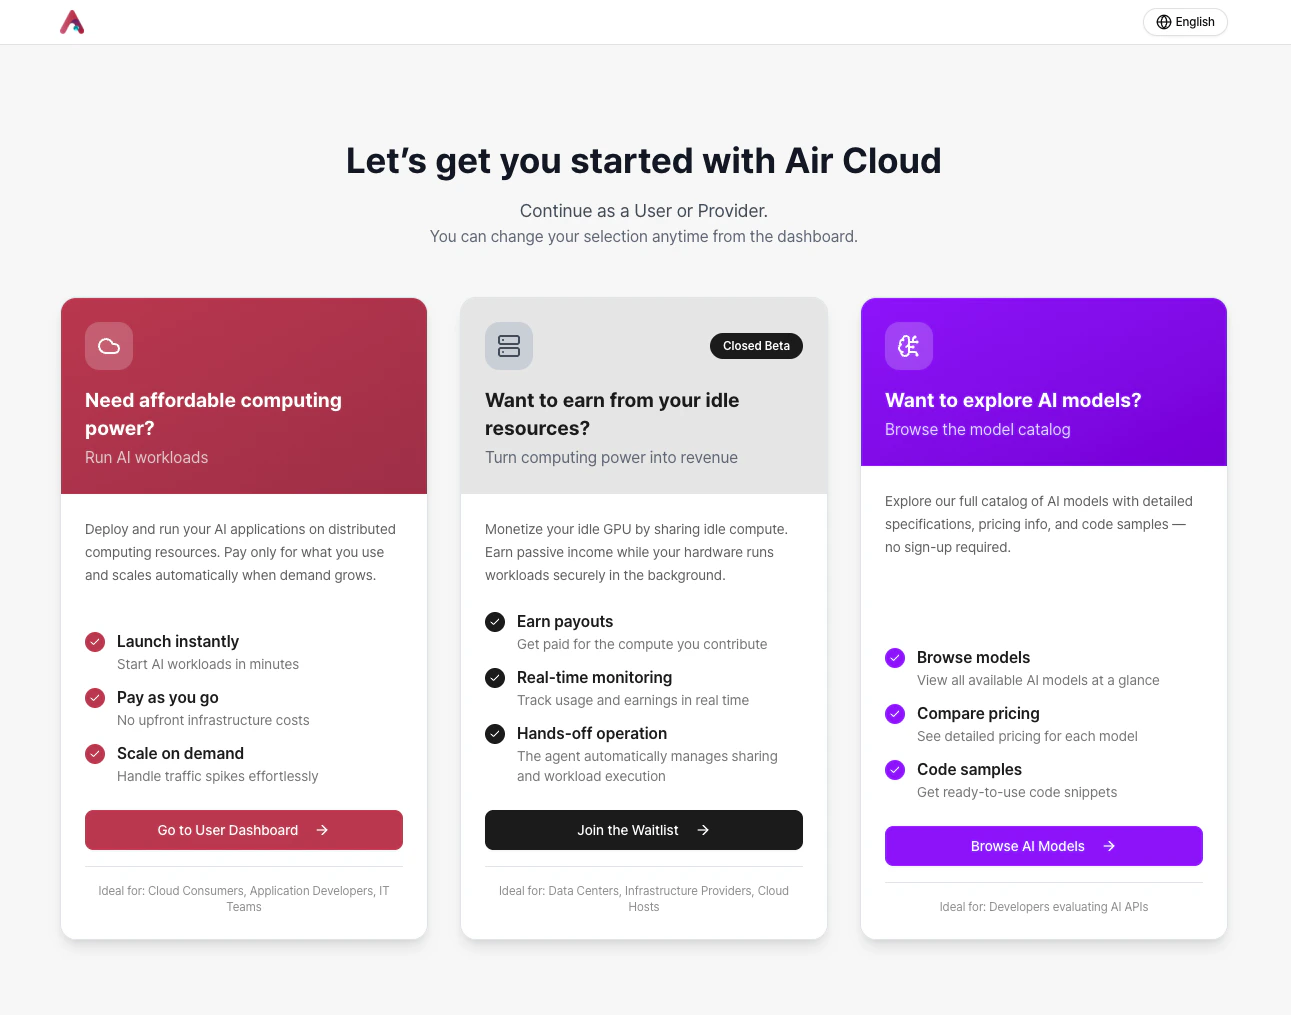
- If you want to use the cloud, select User Dashboard to move to the cloud console.
- If you want to register resources as an AirCloud provider, join the Waitlist and we will contact you in order.
- If you want to try Air API, you can browse available models in the AI Model tab.
Models available via Air API will be continuously updated.
2. Sign up and log in
You can sign up using email or social login.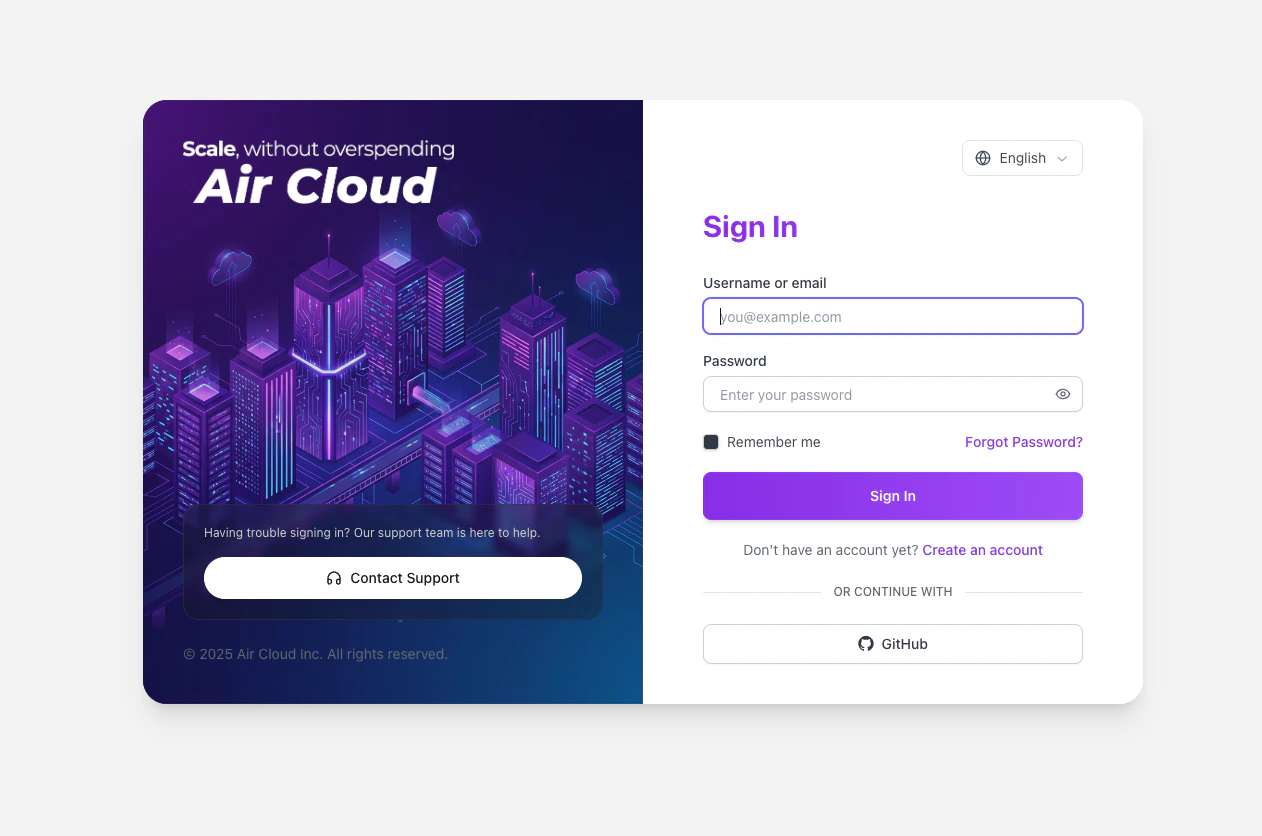
- GitHub
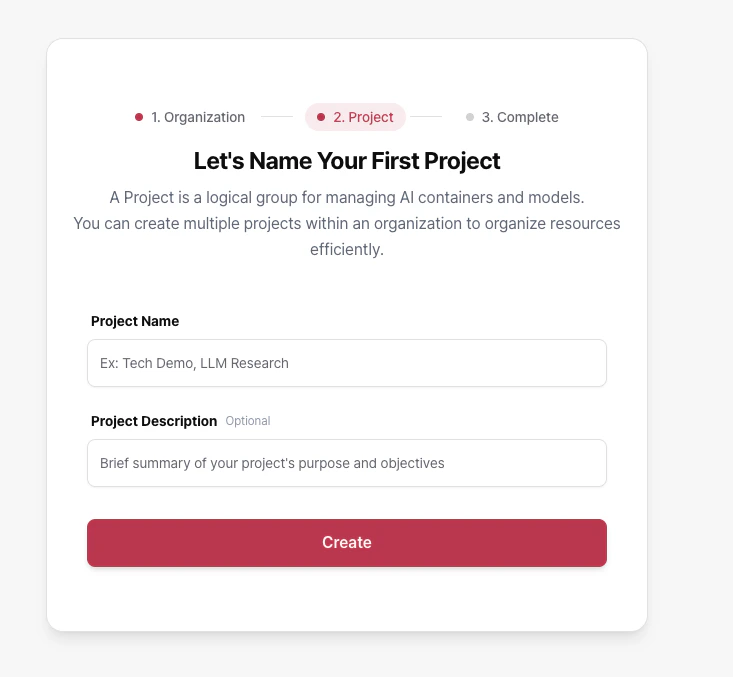
3. Complete onboarding
AirCloud onboarding consists of the following three steps:-
Create an Organization

-
Create a Project
-
Add credit (optional)
Choose your starting path
You can start with either of the following options:Air API
Create an API workload in your Project, select a supported model, issue an API key, and test immediately. You can also test directly in the Playground.
Air Container
Deploy your own container image and configure resources and autoscaling to build a production-ready environment.
Invite team members (optional)

- Team members must sign up with the same email address that received the invitation.
- If you accept an invitation while logged into another account, you may see errors. On the same device, we recommend logging out first. Owners can change all settings. Members can view organization settings, but cannot change billing-related settings.
Next steps
Air API
Learn the API usage flow and how to integrate models.
Air Container
Learn how to deploy containers and configure key settings.
Support
Find help resources if you run into issues while using AirCloud.